
Following this tutorial you’ll create an animated GIF in just 4 steps. You should already have frames of your animation prepared in a separate folder.
In order to create an animated GIF in Adobe Photoshop version 23.3.1, do the following:
- Select File > Open > follow a path with frames > select the 1st frame of your animation > select Image Sequence > press Open;
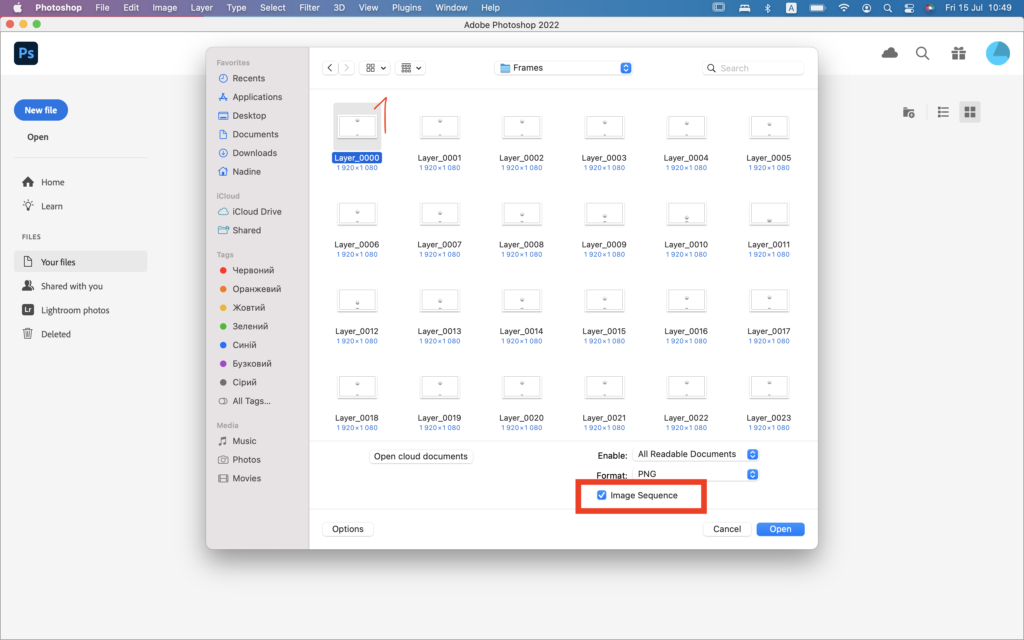
Also make sure there’re no other files, except frames for animation, in the folder.
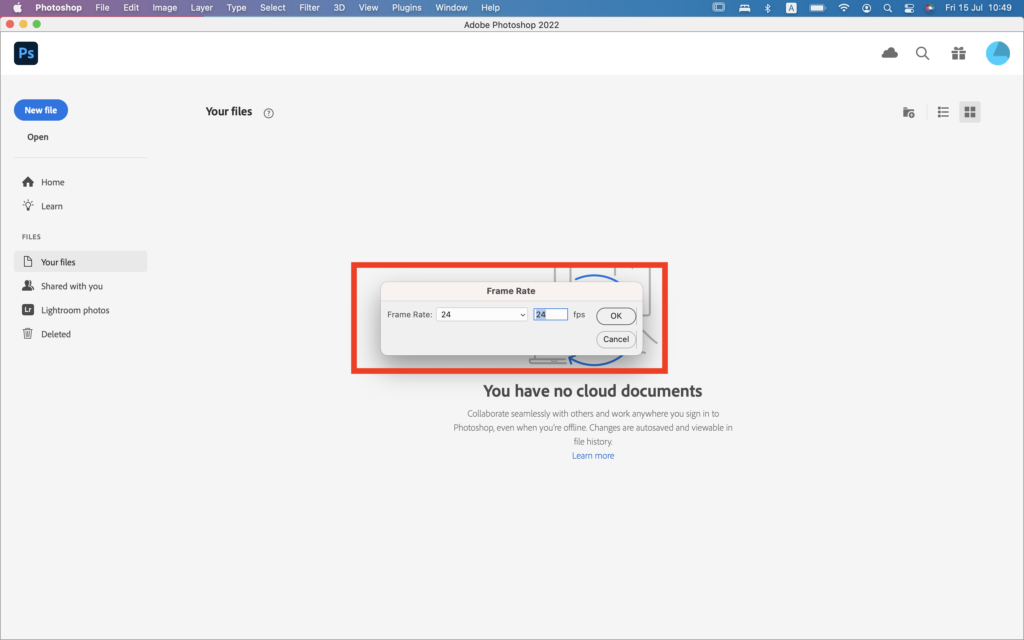
2. In the popped-up menu type the required Frame Rate value;
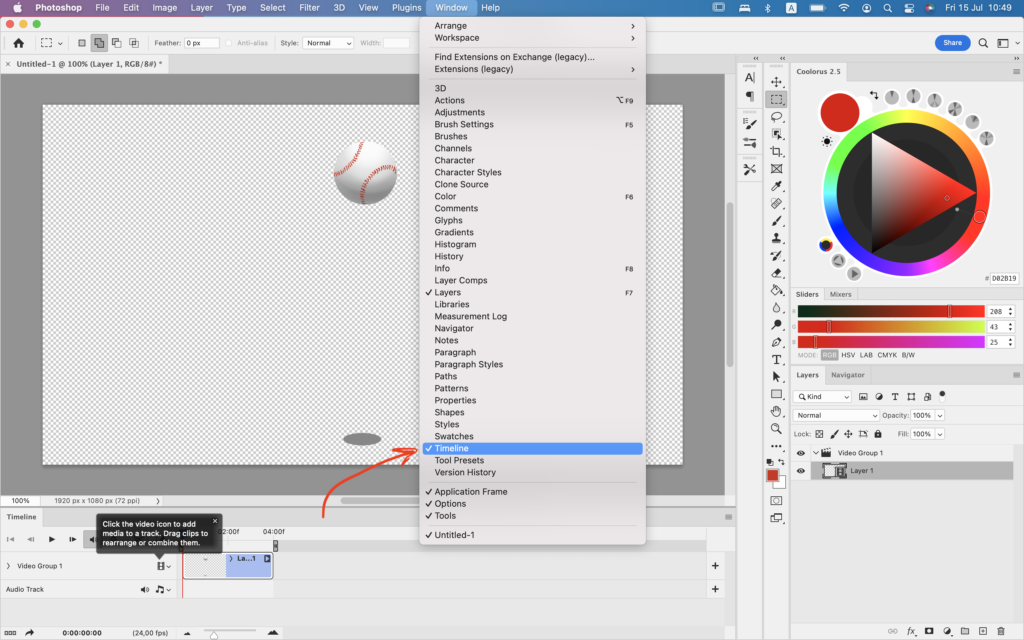
If you don’t see Timeline, select Window > Timeline.
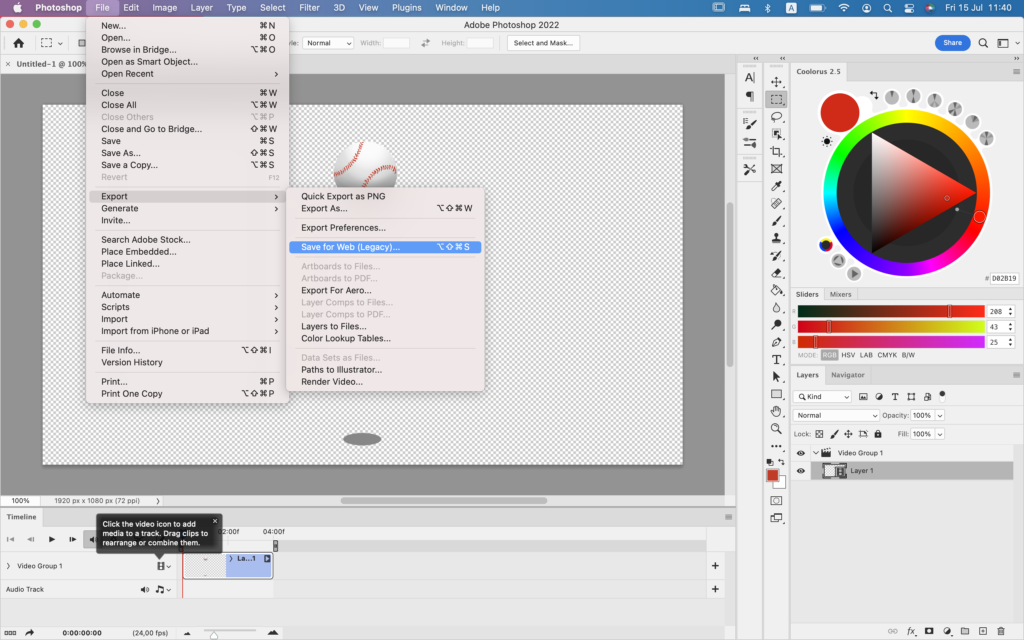
All you need now is to export your GIF animation. To do so:
3. Select File > Export > Save For Web (Legacy);
4. Make sure Looping Option in Animation menu is set to Forever > press Save.
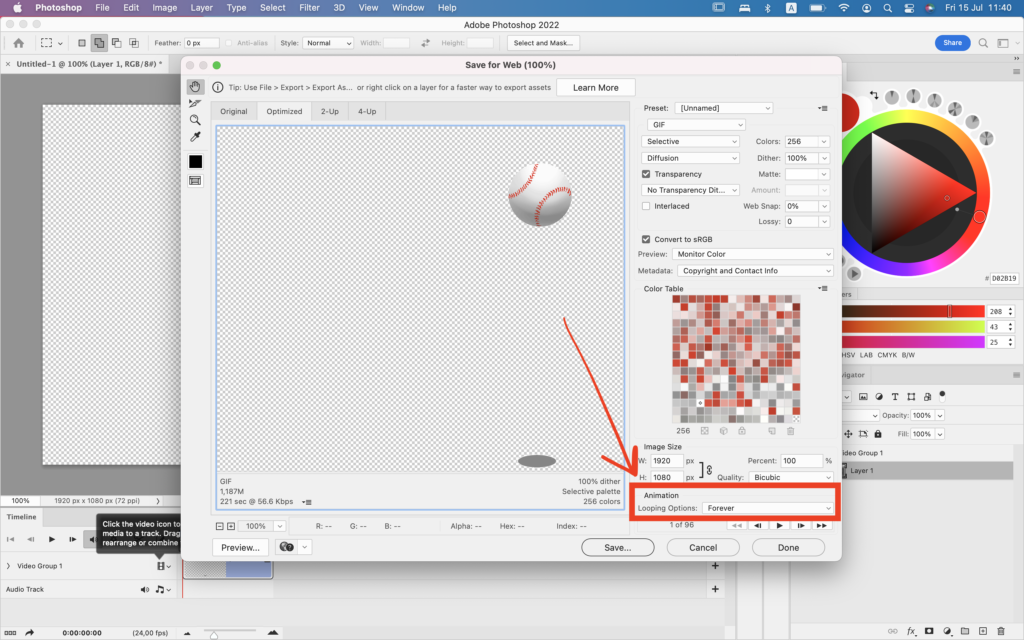
Your GIF animated has been created! ✅👍
Feel free to use this material for educational purposes under the Creative Commons Attribution-NonCommercial-NoDerivatives 4.0 International License. For other uses please contact me through email business[at}nadinekovalchuk.art or contact form.
If you find inaccuracy or if you have a question, please let me know in comments or email at website[at]nadinekovalchuk.art