
If you already have animation frames in JPG or PNG format saved in a separate folder, it will be easy to import those frames and create animation in Krita. How to do so is described in Krita’s official documentation.
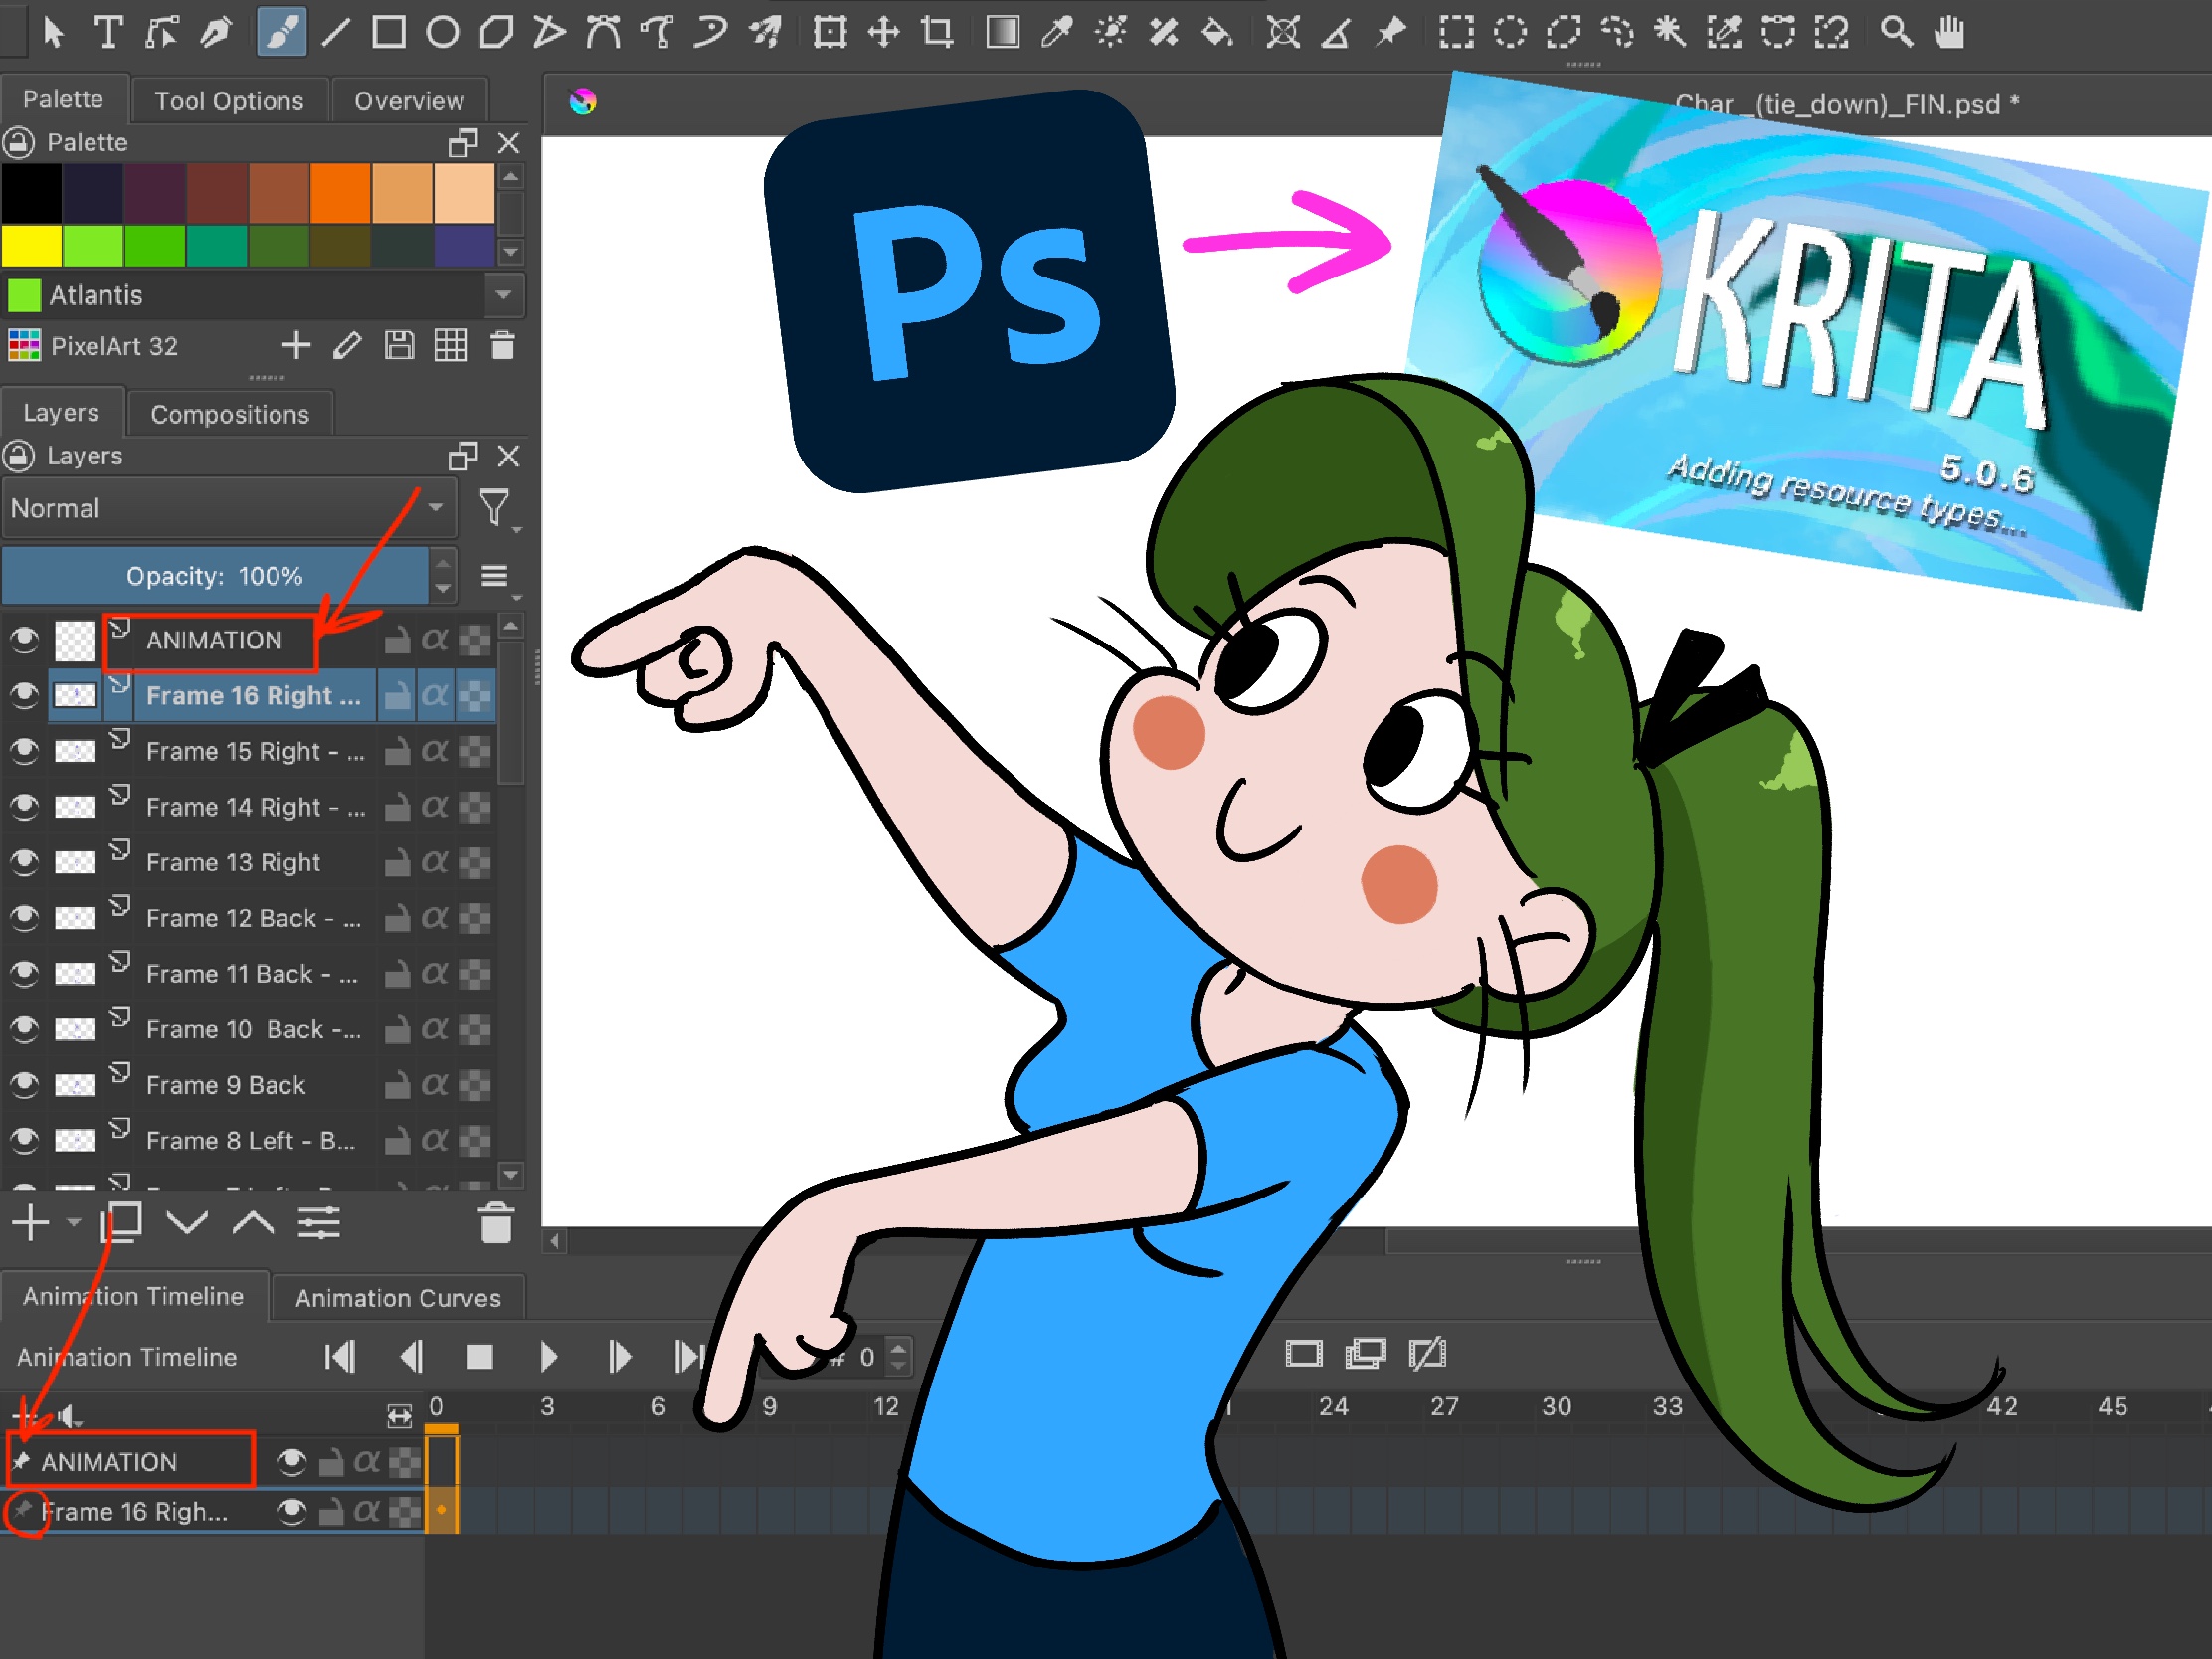
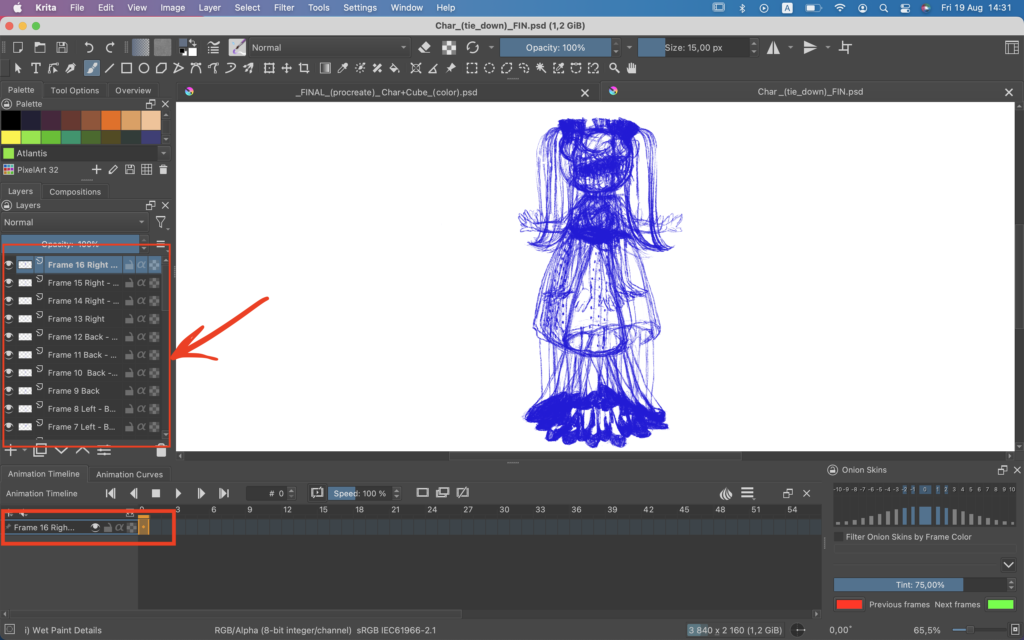
The issue starts when you don’t have separate animation frames saved on you PC. What you have is PSD file with layers which should be converted into frames in a timeline. When you open a PSD file in Krita (don’t forget to switch to Workspace > Animation), what you see is every layer has it’s own track in Animation Timeline menu.
The goal is to place all layers on one track. The logic of how this goal is achieved is simple: you need to convert every layer into a keyframe and then place every keyframe on one track. The detailed instruction of how this can be performed is described below:
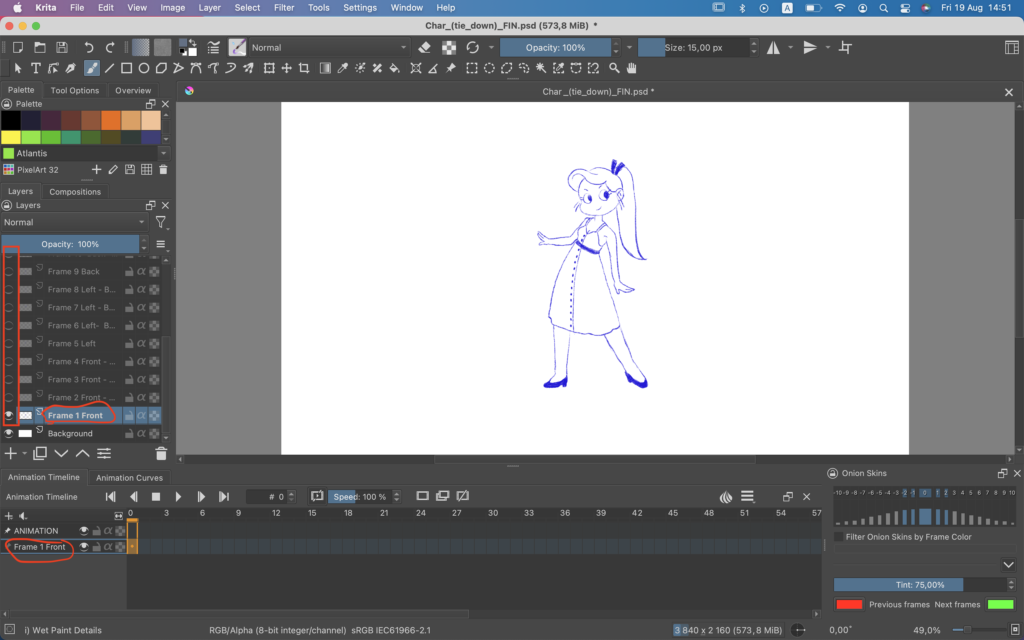
- After you open PSD files with layers for your animation, create a new layer (track) where you’re going to place your keyframes;

Make sure a pin sign is colored white (enabled) for the newly created layer. Enabled pin sign will keep this layer visible in Animation Timeline menu when you switch between other layers.
2. Follow the layer which is going to be the 1st frame of your animation;
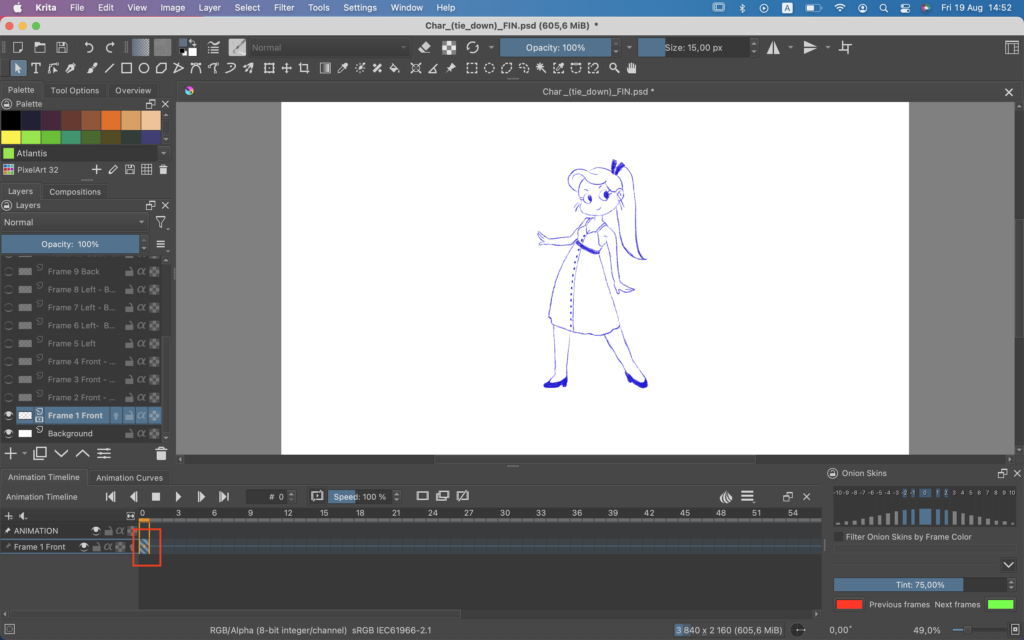
You’ll see this layer appeared in Animation Timeline menu. I suggest disabling the rest of the layers for better concentration.
3. In Animation Timeline menu > right click on a layer > click Create Duplicate Frame;
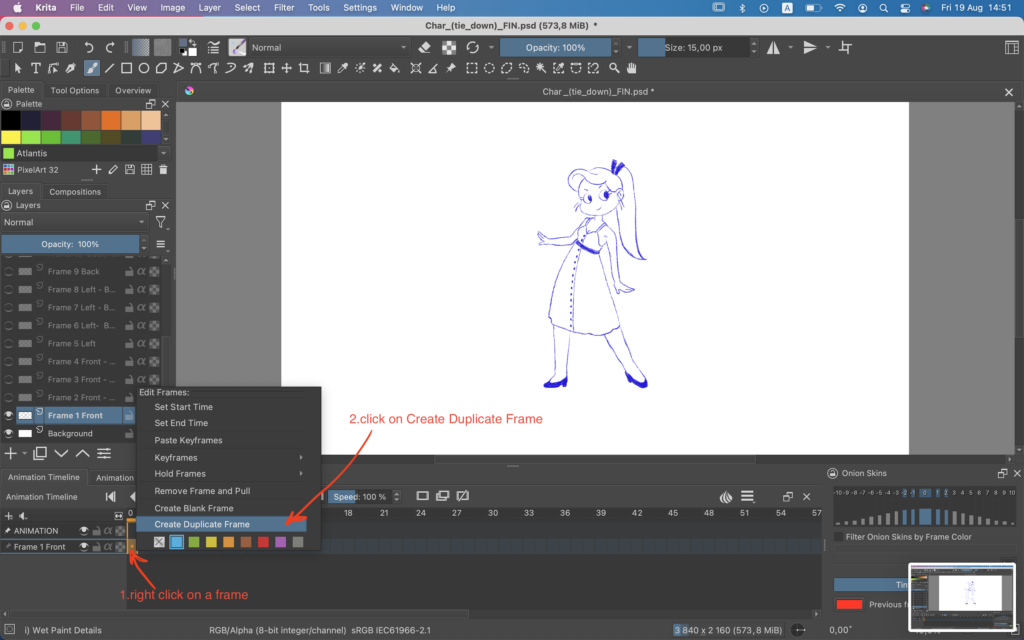
When a keyframe is created, this frame becomes colored with blue diagonal lines.
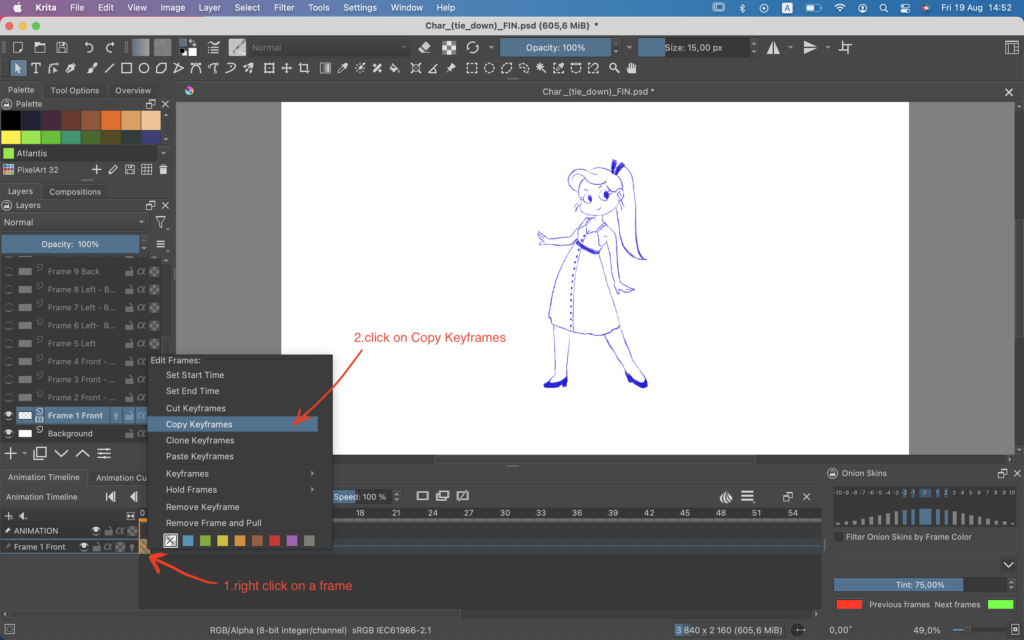
4. In Animation Timeline menu > right click on a keyframe > click Copy Keyframes;
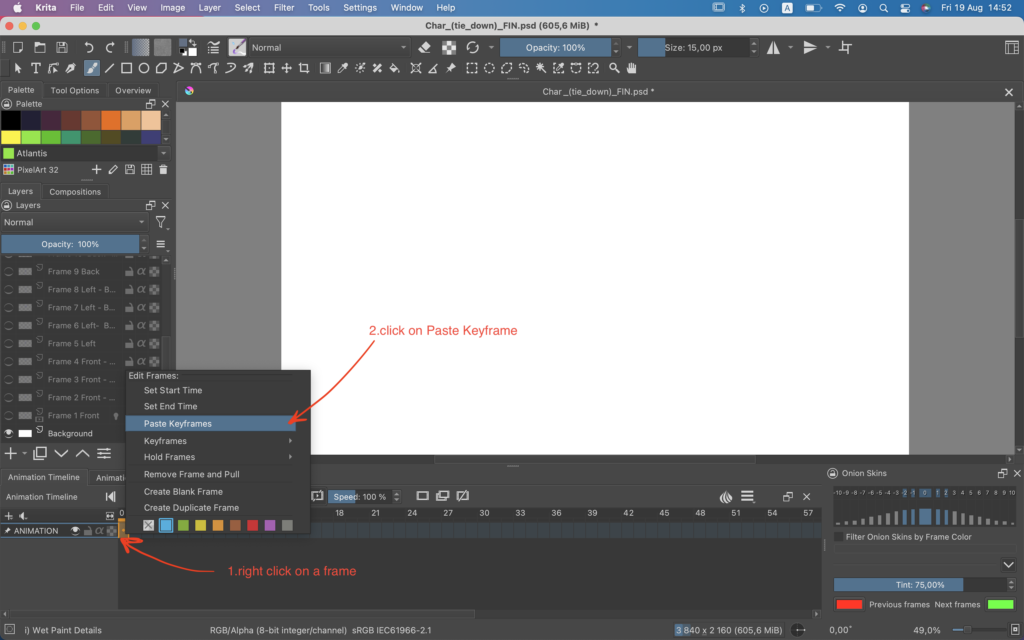
5. In Animation Timeline menu > follow the ‘track’ layer > right click on the 1st frame > click Paste Keyframes;
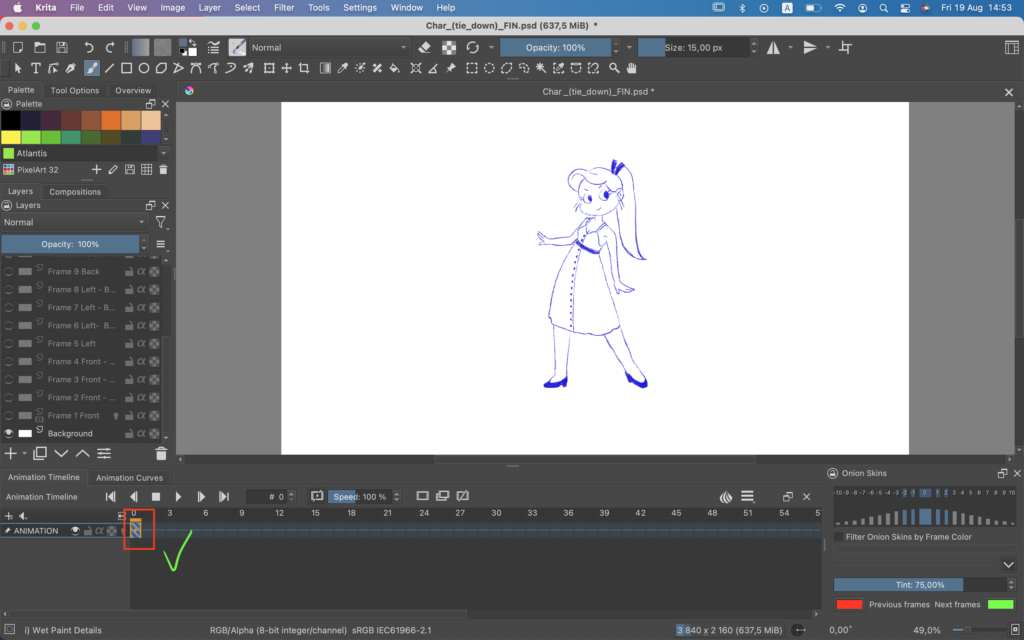
Congratulations! 🥳 You have converted one Photoshop layer into Krita animation frame.
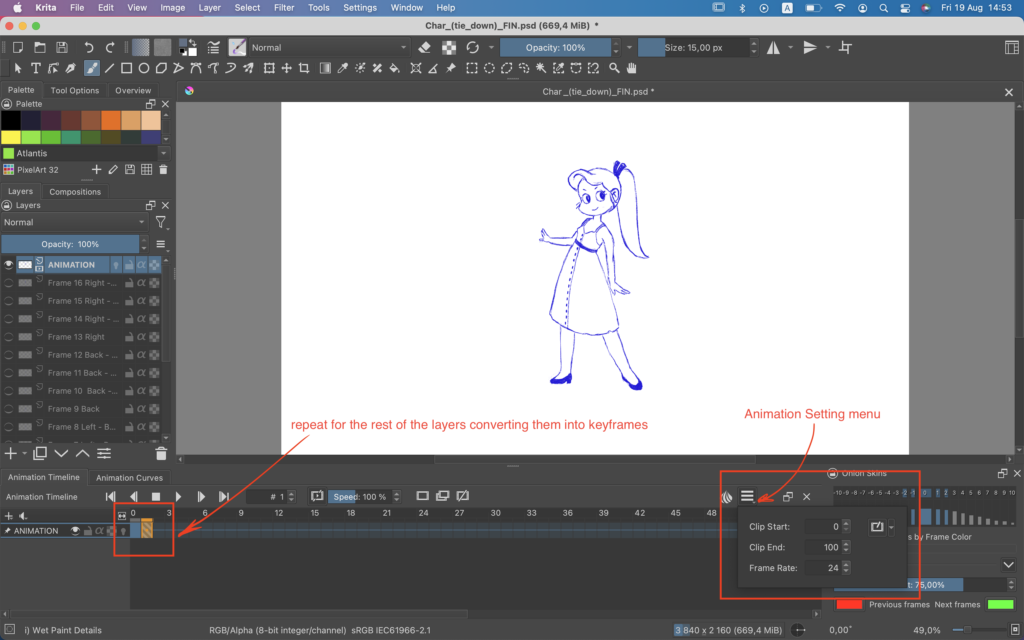
Continue performing the same actions for every layer from your PSD file. When all layers are converted into keyframes and put on one track, feel free to delete layers to avoid clutter. If you need to adjust animation frame rate, follow Animation Setting menu and set the required number of frames per second.
That’s it! ✅👍
Feel free to use this material for educational purposes under the Creative Commons Attribution-NonCommercial-NoDerivatives 4.0 International License. For other uses please contact me through email business[at}nadinekovalchuk.art or contact form.
If you find inaccuracy or if you have a question, please let me know in comments or email at website[at]nadinekovalchuk.art